Installing a ceiling fan can be a rewarding DIY project that not only enhances the comfort of your living space but also adds a stylish touch to your home. With the right tools, preparation, and knowledge, you can successfully complete your own ceiling fan installation. This guide provides essential tips and tricks to ensure a smooth and efficient installation process.

Preparation is Key
Installing a ceiling fan in your home or office is a great way to improve the comfort of the space while also boosting energy savings. Begin by assembling all the tools and materials you will need, including the fan kit, a screwdriver, a ladder (used to reach the ceiling), wire connectors, and electrical tape. Also, make sure you disconnect the power to that specific circuit where you are going to carry out your ongoing work. So before you begin there are a few things to think about safety-wise — like switching off the breaker at your home’s electrical panel, which is something we always recommend.
First, review the instructions from the manufacturer that come with your ceiling fan. This will give you step by step on how to install your fan model. Knowing these beforehand keeps you away from errors and makes the installation easy on the route to do.
Removing the Old Fixture
If you want to swap out an older ceiling fixture with a new ceiling fan, you will need to take down the old one first. First, turn off the power to the unit at the breaker box. With the power off, remove the cover plate or glass shade and unscrew the bulbs. Loosen the mounting screws/brackets and carefully pull down the fixture off the ceiling.
Installing the Ceiling Fan Mounting Bracket
The next guideline to install a ceiling fan is to place the bracket. This bracket holds the fan, and it is generally attached to a ceiling box that has been tightly anchored to a supporting beam in the ceiling. If your ceiling box is old work or not made for a fan, you will have to replace it and start from your attic.
Attach the mounting bracket to the ceiling box with screws, which is also provided. A correctly installed level bracket is what will hold the fan steady. Now that you have your scissor lift on the holes, check and make sure that all of your brackets are aligned.
Assembling and Mounting the Fan
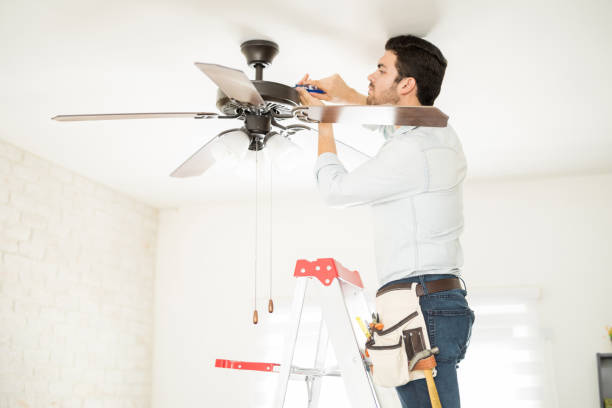
Install the ceiling fan according to the manufacturer’s instructions, with the mounting bracket in place. This is usually done by disassembling the fan blade from the motor assembly. Just be careful while following the instructions and using the correct hardware, or else it will create problems for your machine later.
After assembly, attach the fan motor assembly to the mounting bracket. Many ceiling fans will have a safety hook or ball hanging from the motor assembly near where it attaches to the mounting bracket poster in an attempt to keep you from dropping the motor while making these last electrical connections. Install the fan motor on the bracket making sure it stays put.
Connecting the Wiring
Connecting the wiring correctly is crucial for a safe and functional ceiling fan installation. Match the wires from the ceiling fan to the corresponding wires in the ceiling box. Typically, black or red wires from the fan connect to the black or red wires in the ceiling box (hot wires), and the white wire from the fan connects to the white wire in the ceiling box (neutral wire). Connect the ground wires (usually green or bare) from both the fan and the ceiling box.
Use wire connectors to securely join the wires, and wrap them with electrical tape for added safety. Once all connections are made, carefully tuck the wires into the ceiling box and secure the fan’s canopy or cover plate over the bracket.
Final Steps and Testing
After hooking the fan to the wires above, connect the blades on your brand-new ceiling fan and any other parts like light kits or remote controls. Check that all screws and parts are tightened.
Remember to make sure all wires are connected correctly, and that everything is connected properly before trying to start the fan. Flip the breaker back on, and test it to make sure that your ceiling fan is working problem-free. Test a fan’s speed settings, oscillation capability, and any lights or remote access functions to verify they work.
Troubleshooting Common Issues
If the fan doesn’t operate as expected, check for common issues such as loose wiring, incorrect connections, or issues with the wall switch. Consult the manufacturer’s troubleshooting guide for specific issues related to your fan model. If problems persist, consider seeking professional assistance to ensure a safe and effective resolution.
DIY ceiling fan installation can be a manageable and rewarding project with the right preparation and approach. By following these tips and tricks, you can ensure a smooth installation process, enhance your home’s comfort, and enjoy the benefits of your new ceiling fan. Remember to prioritize safety, adhere to the manufacturer’s instructions, and take your time to complete each step thoroughly. With careful attention to detail, you’ll achieve a successful ceiling fan installation that adds both style and functionality to your living space.


Leave a Reply